Our experts are always on hand to help answer your questions, get you started, and grow your presence online. You can email us any time
How to back up and restore your database with phpMyAdmin
- Knowledgebase
How to back up and restore your database with phpMyAdmin
Every onion service with a database ships phpMyAdmin, and it can both export a database to a .sql file and import one back. This guide covers the round trip — and the size limit where phpMyAdmin stops being the right tool.
Step 1 — Open phpMyAdmin
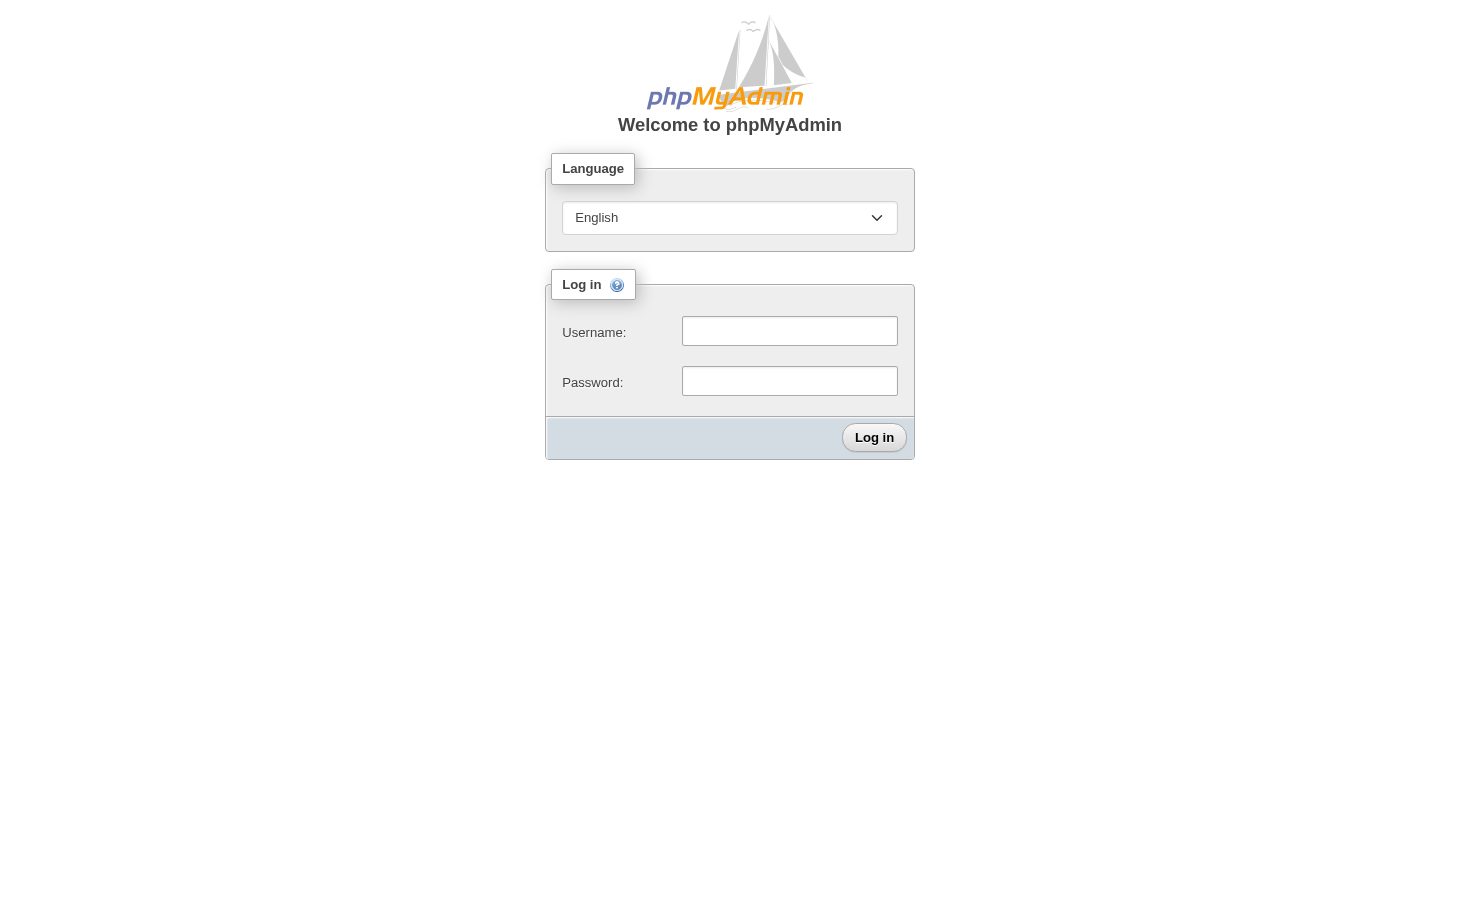
In the Customer Portal open your onion service, click Database and use the phpMyAdmin link on that page. It points at port 81 of your onion address, so it works exactly like the site: through the Tor Browser, with no clearnet host in between.
Two logins stand between you and the databases:
- the browser's own basic-auth dialog, with the Username and Password from the Database Credential card (the
pmapair of the service); - then phpMyAdmin's Log in form. Enter
rootas the user and the root password shown on the same card — the one labelled as the database root password, not the basic-auth one. The two are different on purpose.
After the login the left column lists the databases. The one your application uses is the long random-looking name; you can confirm it in the application's own configuration (.env for Laravel, wp-config.php for WordPress). The MySQL hostname is db, port 3306 — never localhost.
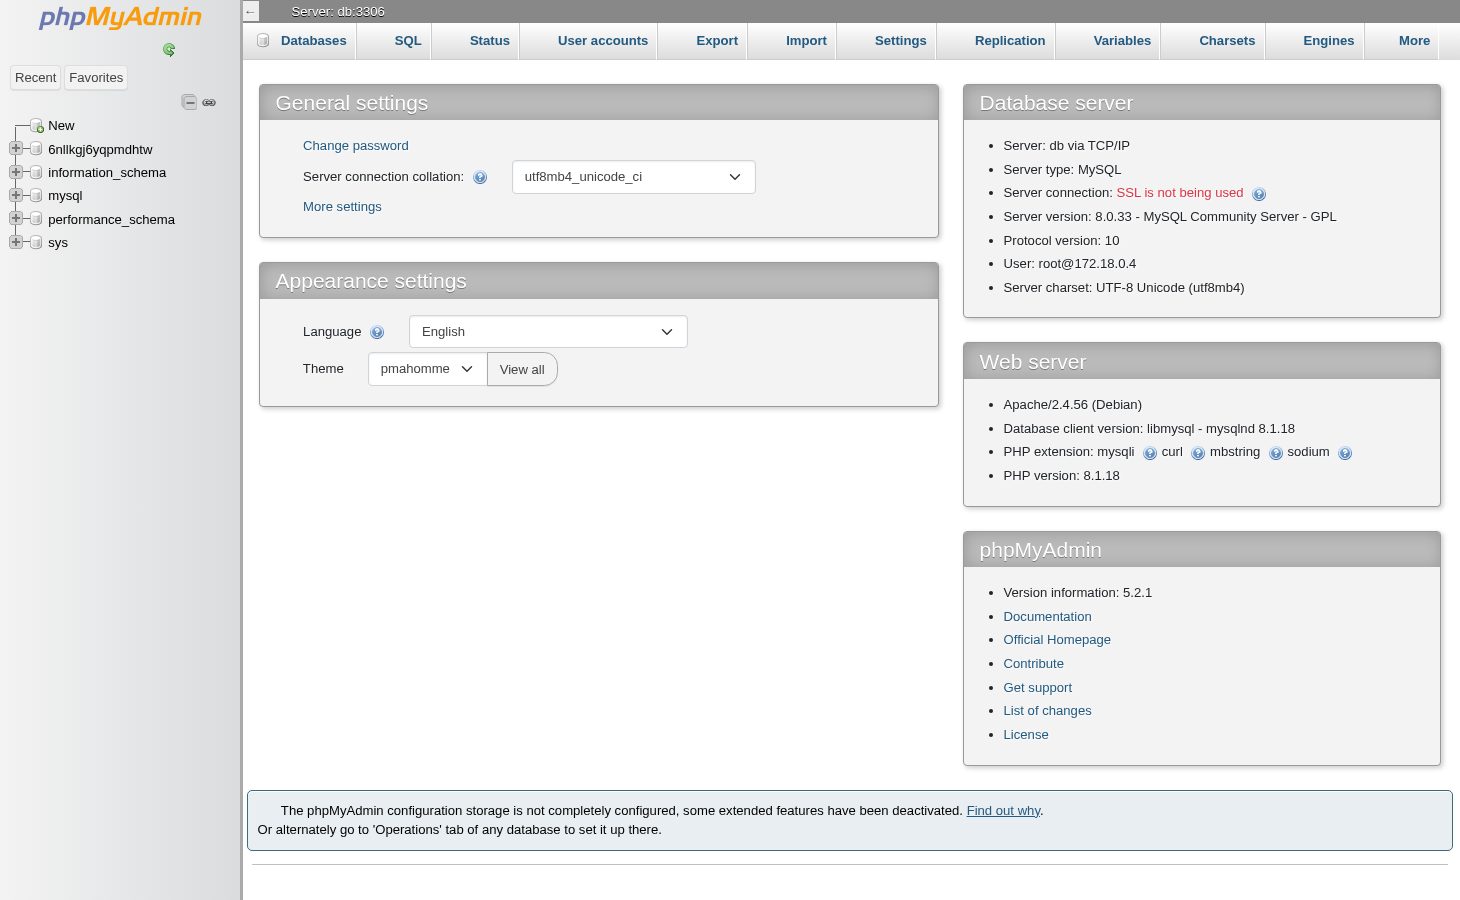
The two tabs this guide uses sit in that top bar: Export and Import. They appear at the server level (all databases) and again after you select a database in the left column (that database only) — always select the database first, so that the tab works on the right one.
Step 2 — Export (back up)
- Click the database in the left column.
- Open the Export tab at the top.
- Leave the method on Quick and the format on SQL.
- Click Export. The browser downloads
database_name.sql.
For a large database, choose Custom instead and tick gzip under Output: the download is a fraction of the size, and phpMyAdmin compresses it on the server, so it costs you nothing but CPU time. A plain Quick export of a big database can hit the PHP execution limit and come back as a truncated file — if the download ends in an error, re-export with compression and check the file size afterwards.
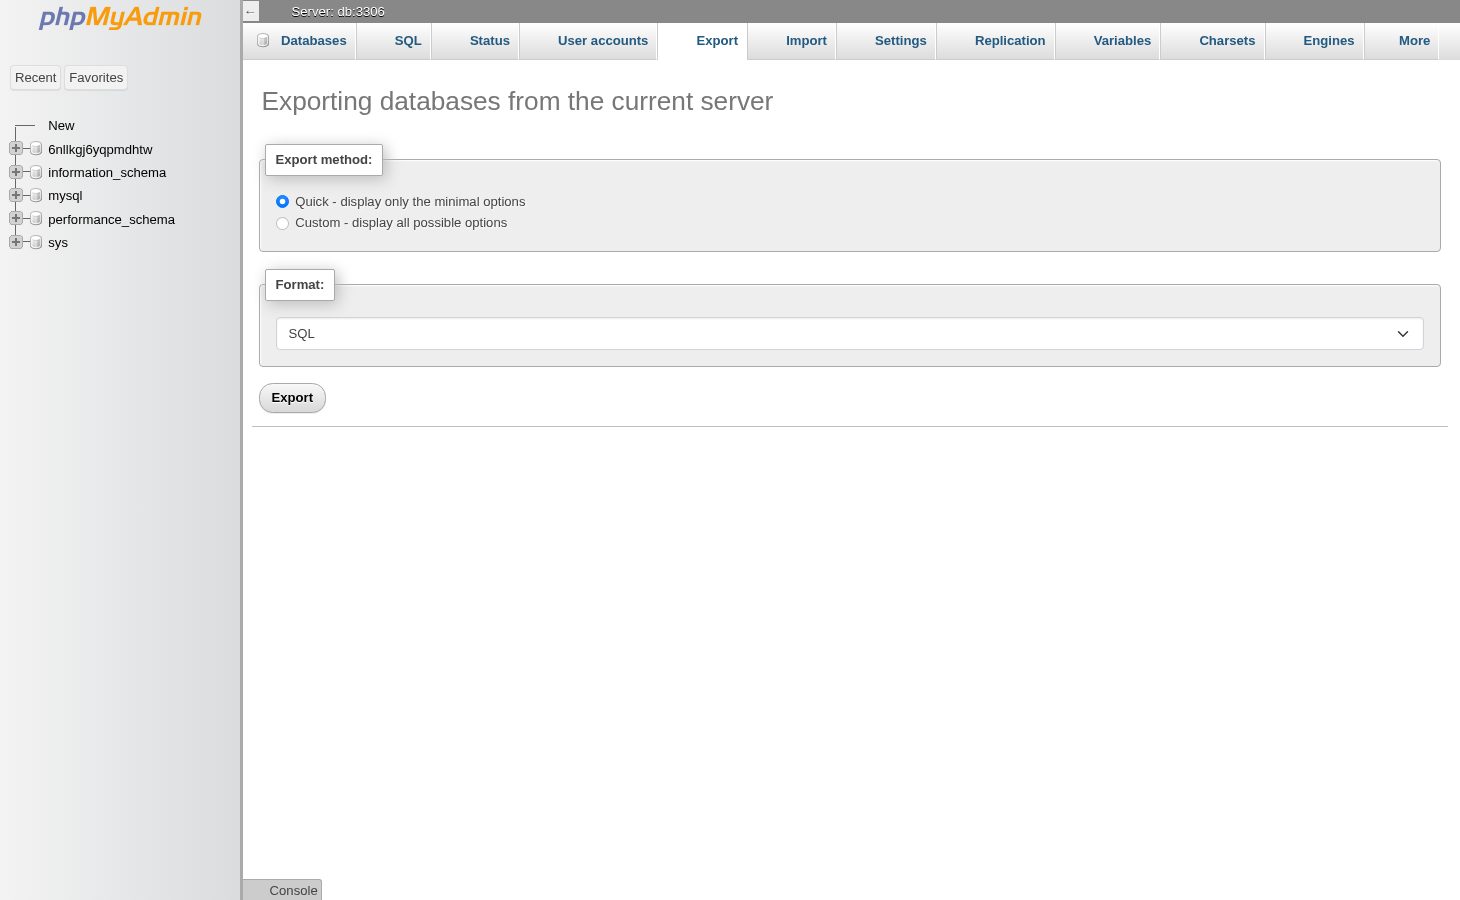
This is the server-level view — it exports every database. Select your database in the left column first if you want only that one; the page looks the same and adds a list of its tables.
Keep the file off the service: download it, verify it opens, and store it somewhere you control. The service's own backup directory is visible over SFTP and is a convenient place for a copy, but it is not a backup if the service is the thing that disappears.
Step 3 — Import (restore)
- Select the target database in the left column. If it does not exist yet, create it from the Databases tab first — the name must match what the application expects.
- Open the Import tab.
- Choose File and pick the
.sqlor.sql.gzexport. - Click Import and wait. Do not reload the page.
A successful import ends with "Import has been successfully finished, N queries executed". The import runs as one request, so a large file is bounded by the PHP time limit and by the upload limit of this phpMyAdmin container — the page states it right above the file field: Max: 200MiB. Anything bigger fails at the end of the upload, which is why the next section exists.
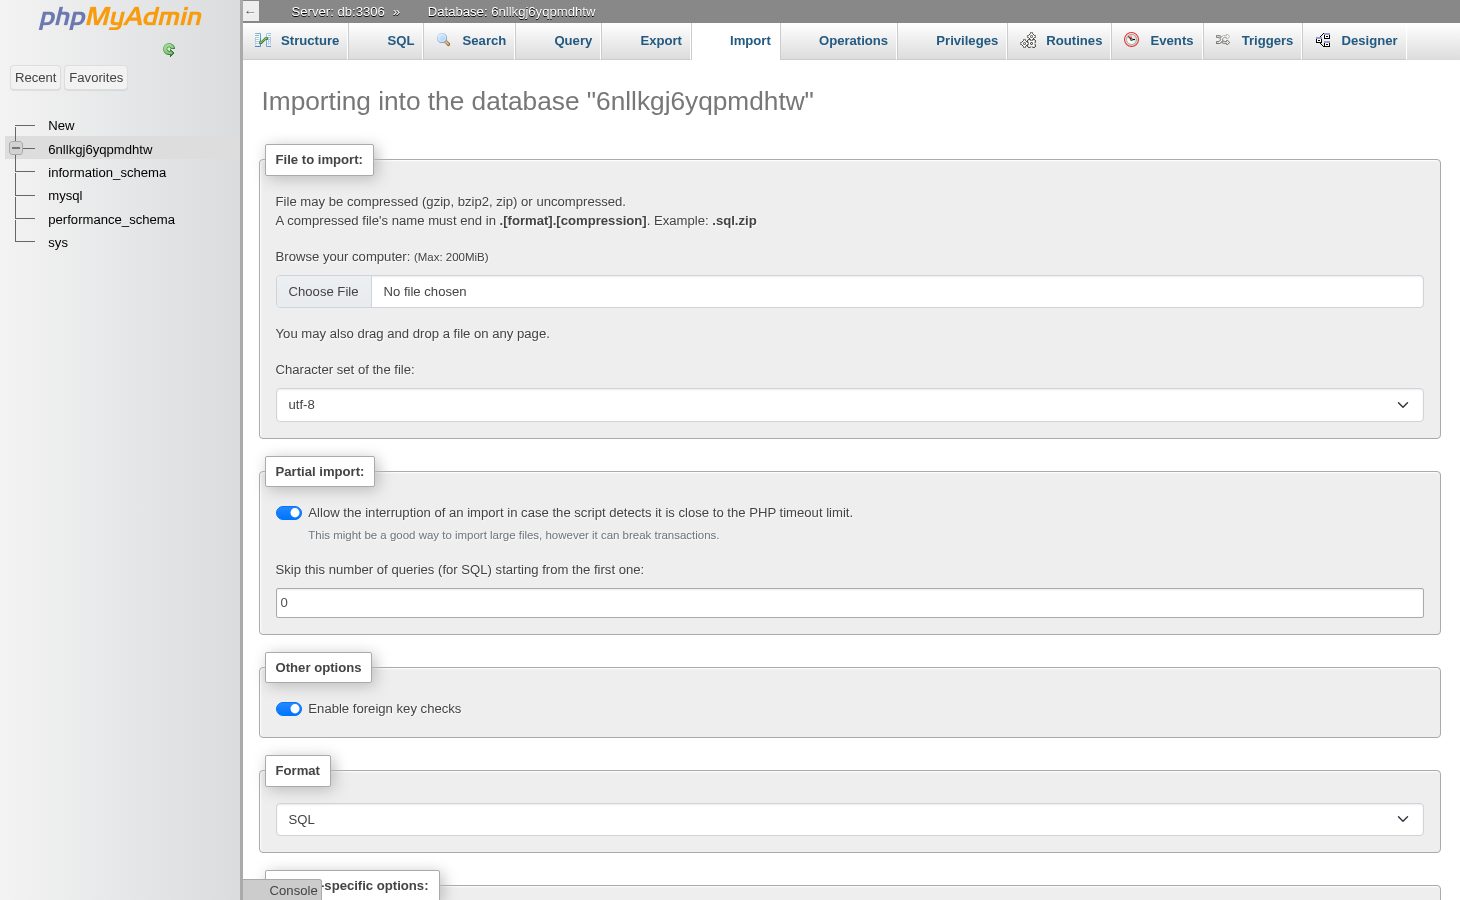
Compressed dumps work as they are — .sql.gz, .sql.bz2 and .sql.zip are decompressed by phpMyAdmin, as long as the file name ends in the format and the compression (.sql.gz).
Step 4 — When the dump is bigger than 200 MB
Do not split the dump into 200 MB pieces by hand — that breaks single statements and table order. Upload the compressed dump over SFTP and import it with the mysql client over SSH, which has no upload limit and no HTTP timeout:
gunzip -c database_name.sql.gz | \
  LD_PRELOAD= mysql --skip-ssl -h db -u root -p'THE-ROOT-PASSWORD' database_name
The full walk-through, including why the connection needs LD_PRELOAD= and --skip-ssl, is in How to import a large MySQL dump into your onion service.
Step 5 — Check the restore
- In phpMyAdmin, open the database: the table list and the row counts should match the export you took.
- Load the site. If it shows a database error, the credentials in the application's configuration are the next thing to check — the Database Credential card has the values (
db,3306,root, root password). - Importing a dump that was taken from a different service overwrites nothing by itself: the dump carries
CREATE TABLEstatements, so existing tables in the target database are the ones that matter. Restore into an empty database when in doubt.
Related articles
- How to import a large MySQL dump into your onion service
- Manage your onion service database with phpMyAdmin
- How to download a backup of your onion service
Tags:
- Onion Service
- MySQL
- Backup